Friday, February 24, 2012

Gifts of Years Past

Believe it or not but I have been making things for people before this blog started. I know hard to believe.. I wanted to share some of the things i made in the past that I took pictures of. I have never been good about taking pictures of stuff I've made but here are some past Christmas, birthday and wedding gifts I found looking through my stash of pictures.

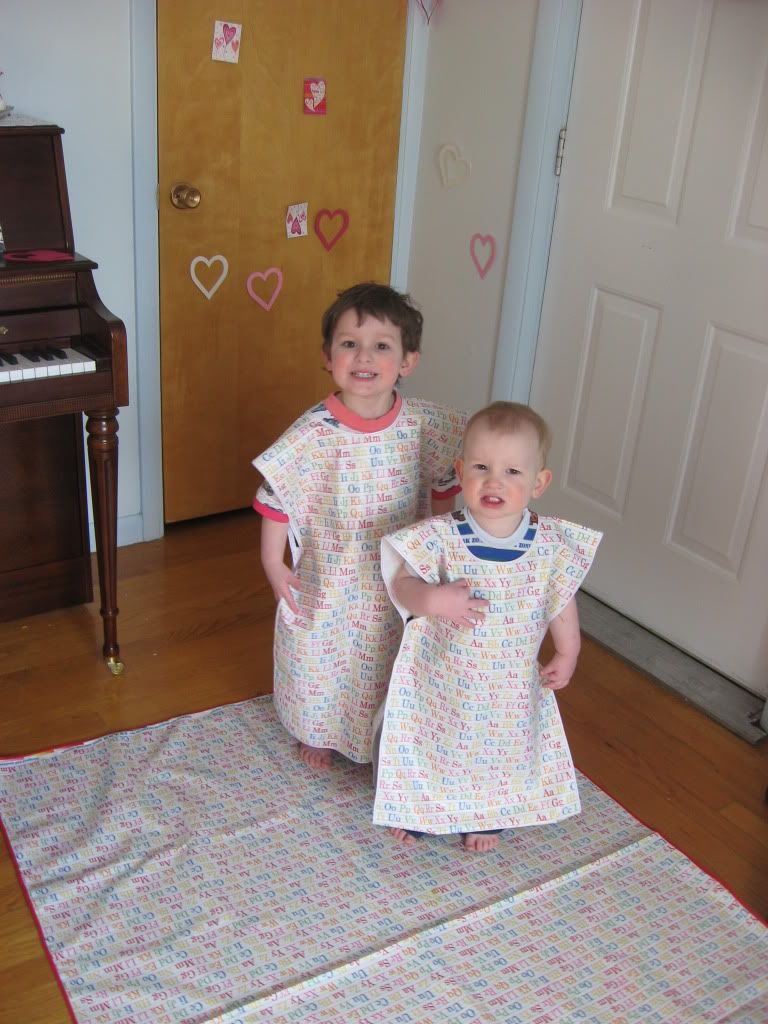
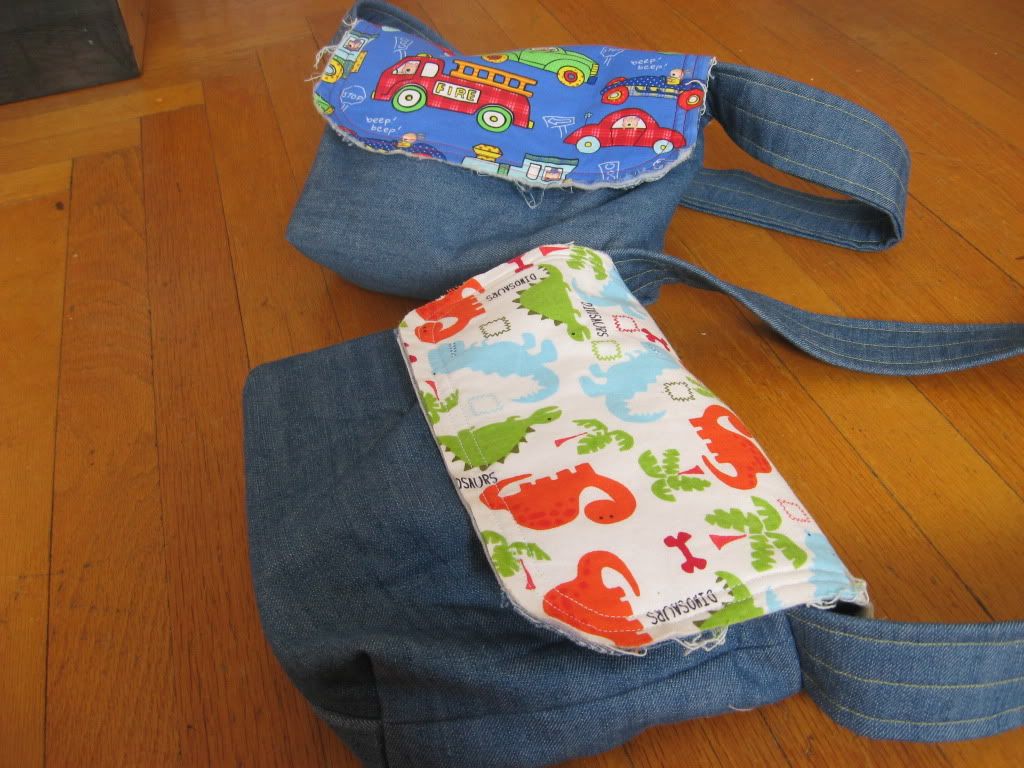
First the kid bags I found the tutorial at Zaaberry  There is a pic with my kids wearing them to give you an idea how big they are.
I added velco to the flaps, that wasn't in the tutorial, and I also sewed the bottom of the lining in so it wouldn't come out every time you grab something out.
Art smocks Idea found from here I made mine MUCH bigger, all this with only 2 yard of oil cloth!
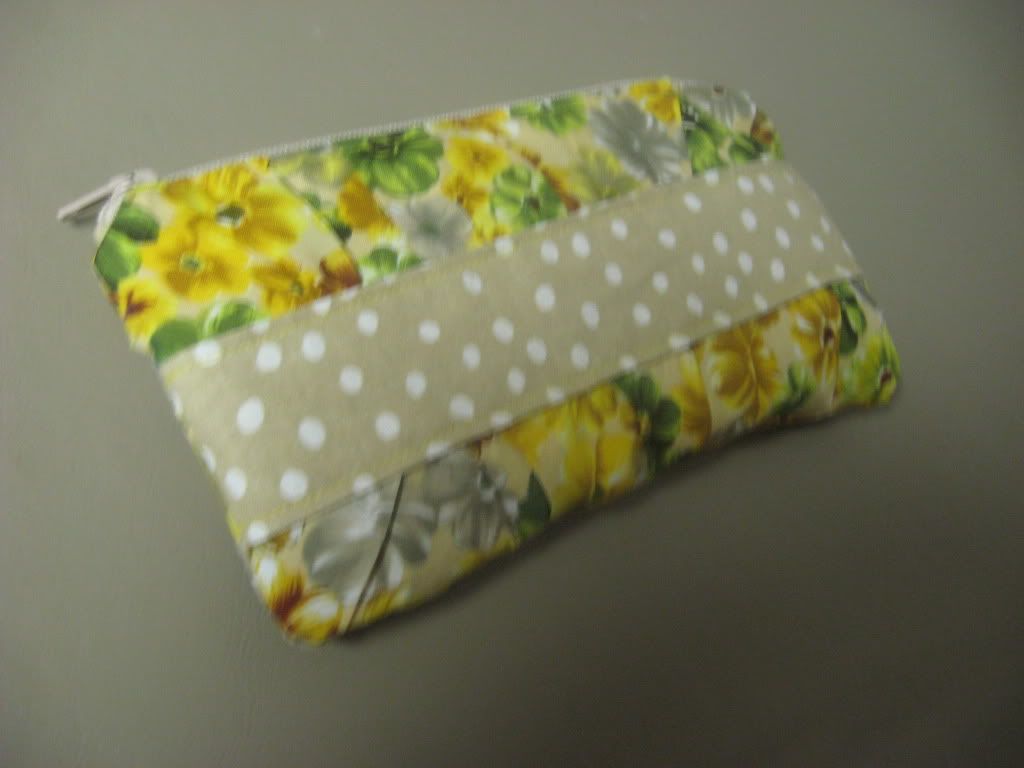
Gather Clutch- made for Christmas for many family members. Tutorial found HERE
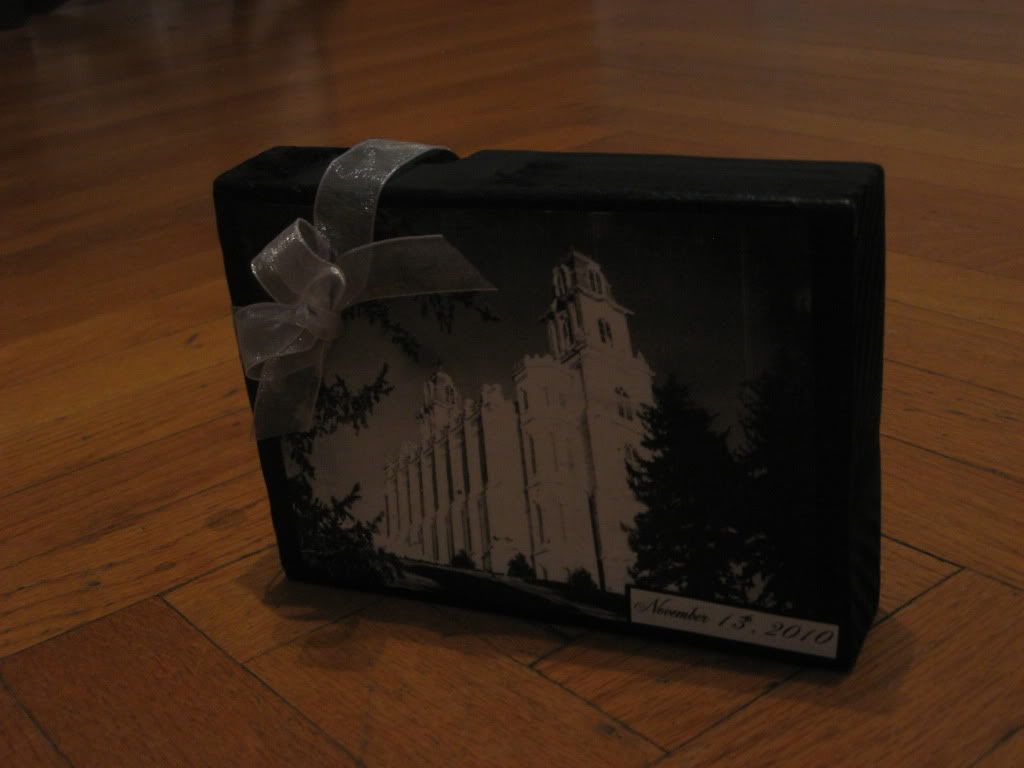
Temple photo block. Made for cousin's wedding. Got the idea from Lil' Luna who has pictures of a lot of temples with I'm going there someday on it or there is a link to pictures with no words! So awesome!

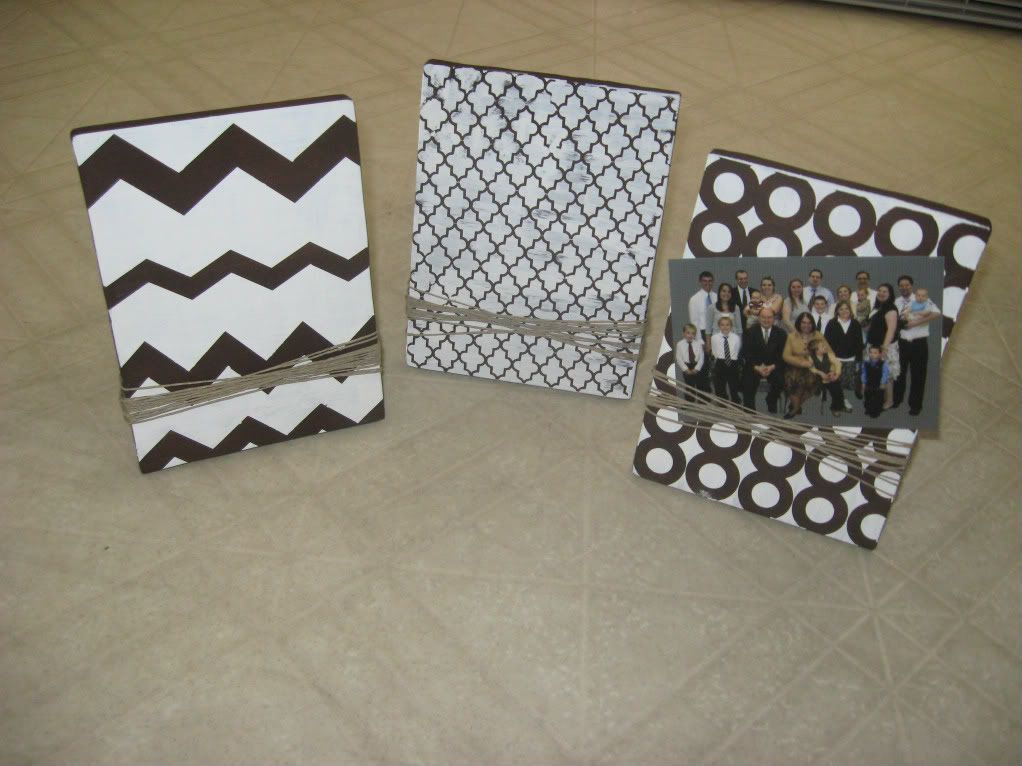
Made for friends birthday
Wood photo frames. Made with extra wood around house, vinyl for the stencil and paints with twine and drilled a hole for dowel on back

Wednesday, February 22, 2012

Organize My Life! Craft Room


Getting Organized is one of my new years resolutions so posting it here in blog land will make me do what has been needing to be done for SO long. I must warn you I will be using graphic pictures of my horribly messy home. Those with weak constitutions towards the filthy should not look at these pictures. You have been warned!
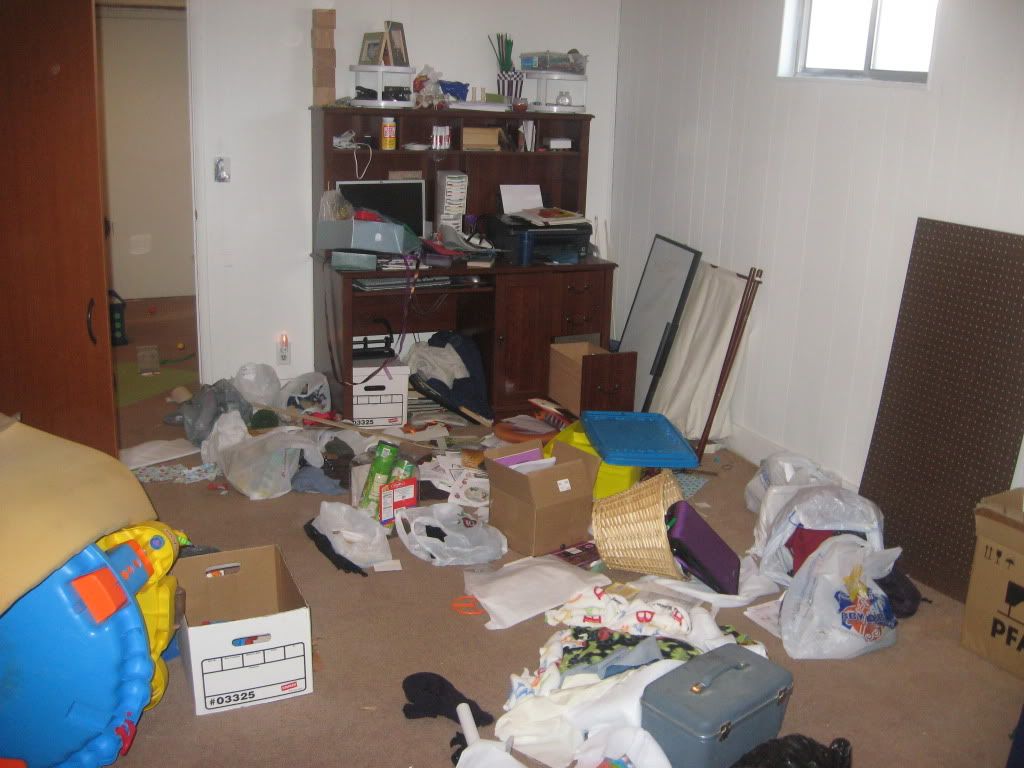
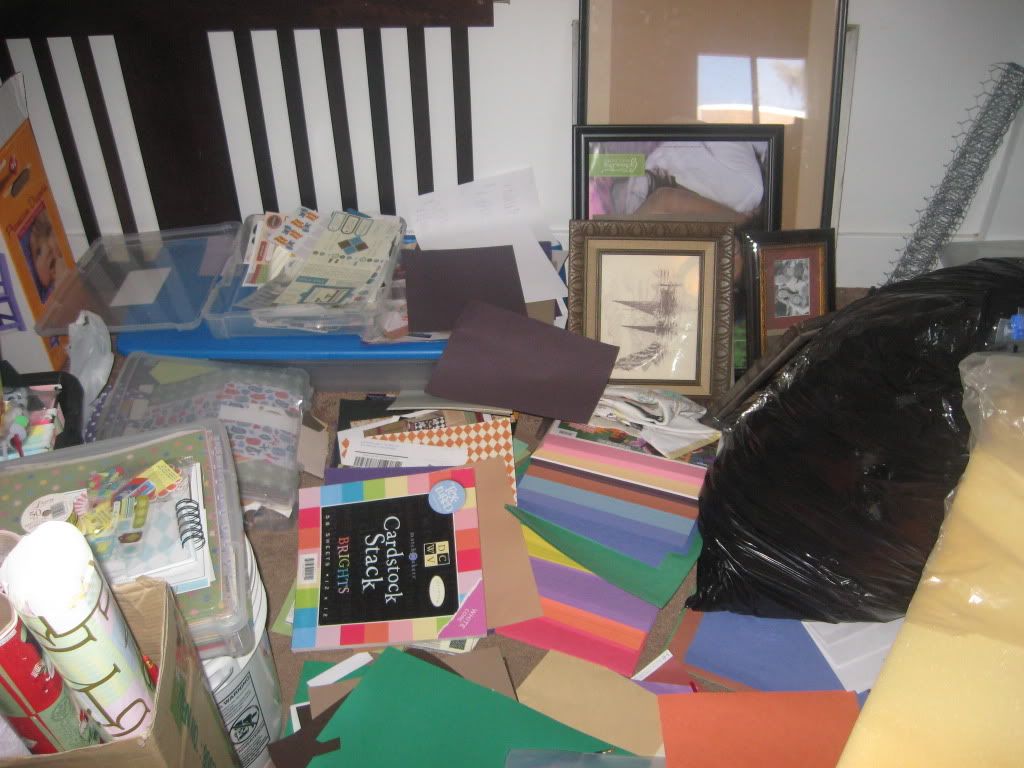
With the start of the this blog I knew what my first room HAD to be, my craft room. My craft room is the go to room when company comes to stash everything in there to hide the mess. So here are a few images to give you an idea what I had to conquer after the holidays.
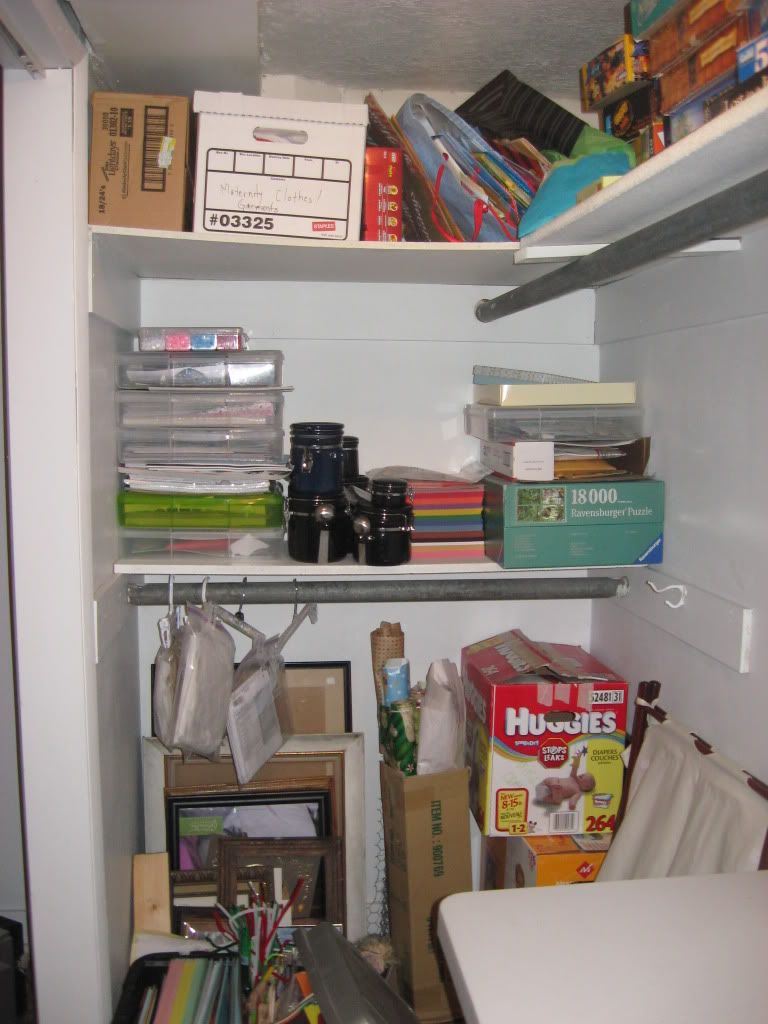
All sorts of junk on top of everything else
  
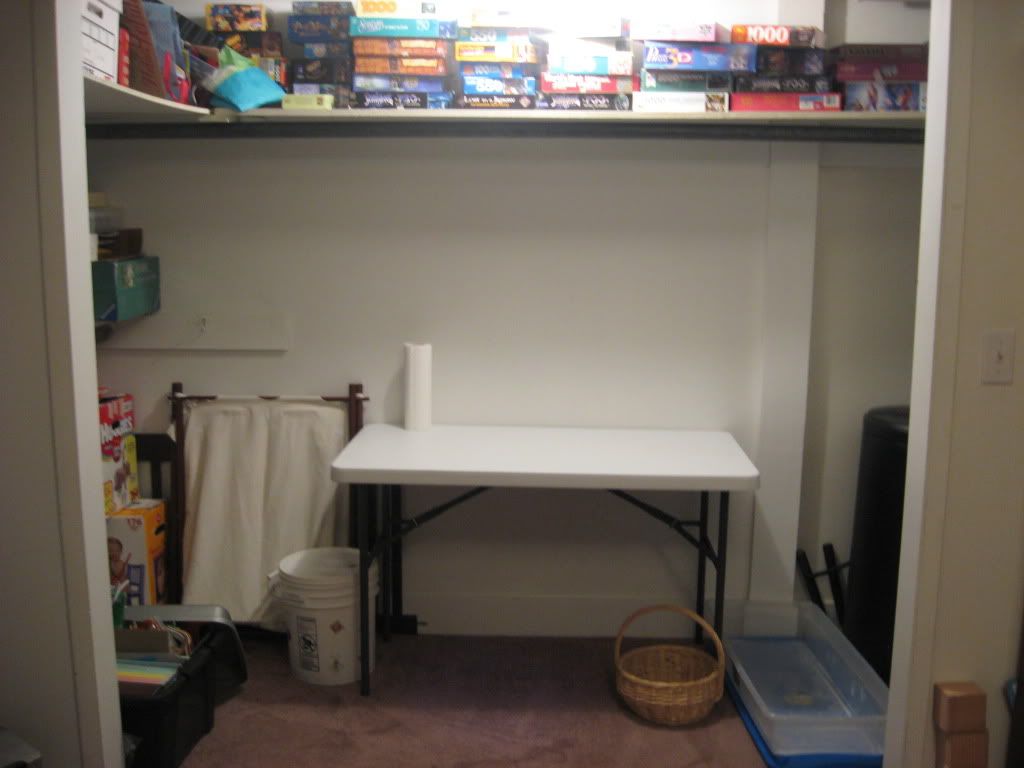
This is the closet! I can't even see the floor!
Ok the torture is over. I hope that makes everyone feel good about how their homes look! It took hours and hours and all sorts containers and boxes to get things together nicely. Here are some after pictures:
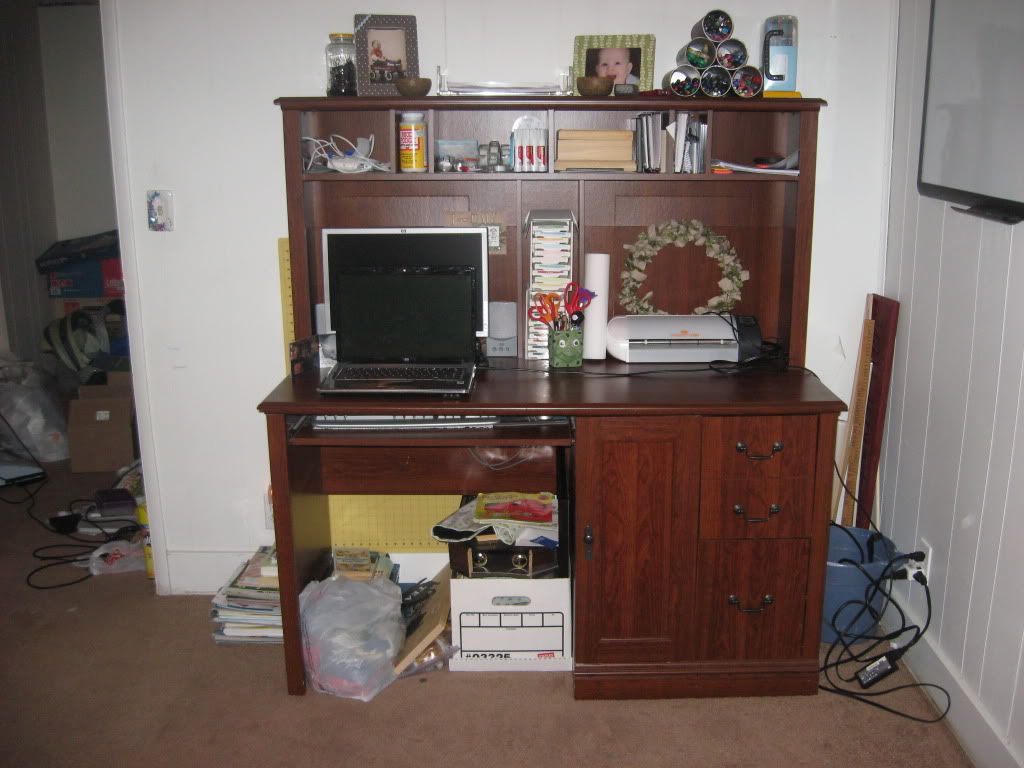
The desk now is organized and has the "fix it" pile under it
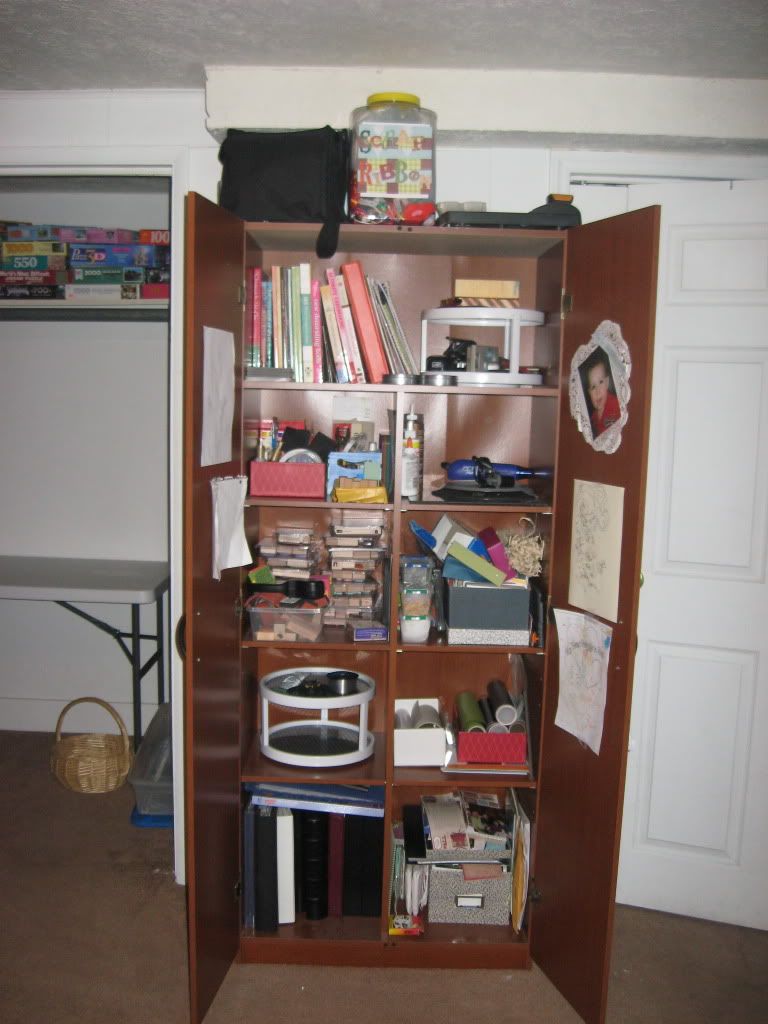
All stamps and tools needed to finish those projects found in here
Closet: present wrapping stuff above and paper storage on shelf
The whole closet. Can you believe that is what the floor looks like?
And finally it is done! I have a lot of thing I want to make to add to the organization and decorations. This time is just for the original clean up and organize. I'll have an updates with the different projects I add to the room, like with this room I want to add a shelf in the closet to put my buttons and other containers of embellishments right there for my own card making station. I have so many ideas we'll see if I can get the time and the money to do it!
How is your creative area looking? Does it need a little sprucing up? I hope this motivates you to get yours taken care of! Next week will be taking on the filing cabinet...Oh dear....

Monday, February 20, 2012

Giveaway! and Valentine's day

Sorry for the late post! I was going to post this at 5 and family things just got in the way.
Giveaway winner Announced!

The winner is: Heather!
Heather said...
Yay! I'm finally got around to signing up to be a follower of your blog! I love it so far- you have such great ideas!

Congrats! Have fun with your new software! Email me and I'll get you your code! (look in my profile if you don't already have it!)


For everyone that didn't win remember that they are giving us a deal with using this code: STMMMS70034 at check out and you get the my memories software for 10 dollars less and get 10 dollars towards any paper you would like! Sweet!

If you wanted to read about our Valentines day go HERE to read it over at  Pound it!

Thanks!

Saturday, February 18, 2012

Marble Necklace


I have been admiring this necklace for months! The original tutorial can be found over at kellyhicksdesign. I will provide pictures of my necklace and what I did to make this necklace and where I had issues. 

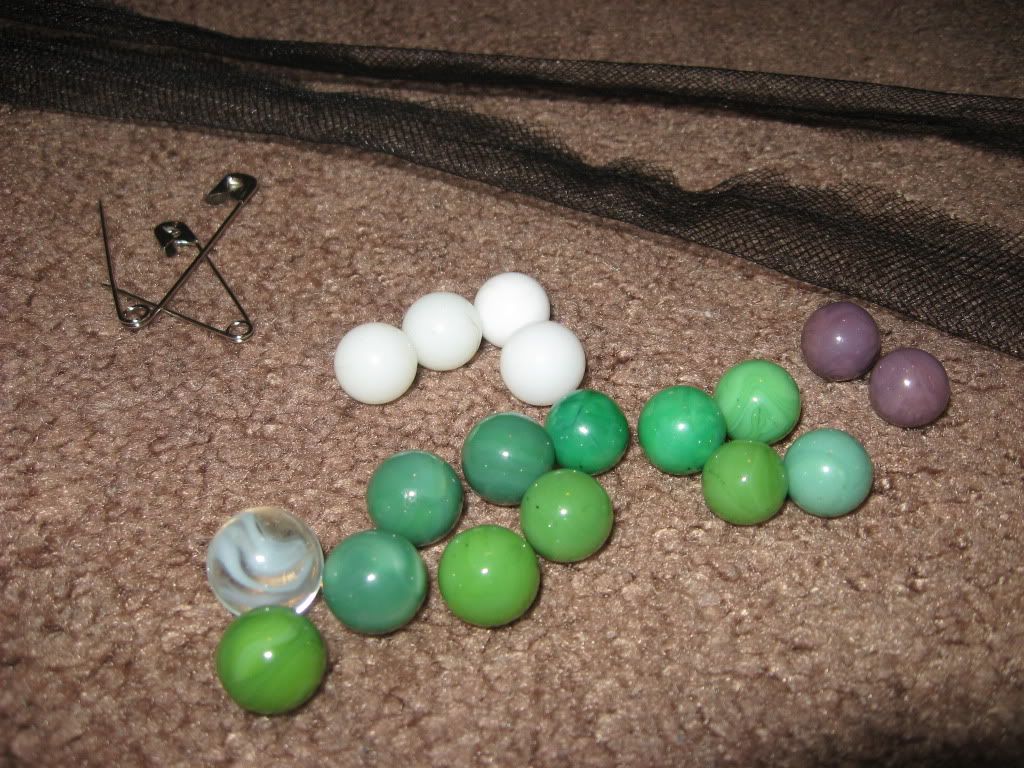
Items needed for this Necklace:
Material (I used Tulle which was left over from my sister's dress)
Marbles whatever color you want (thanks grandma!)
Needle and thread
Small beads for flower
Safety Pin
3 seed beads

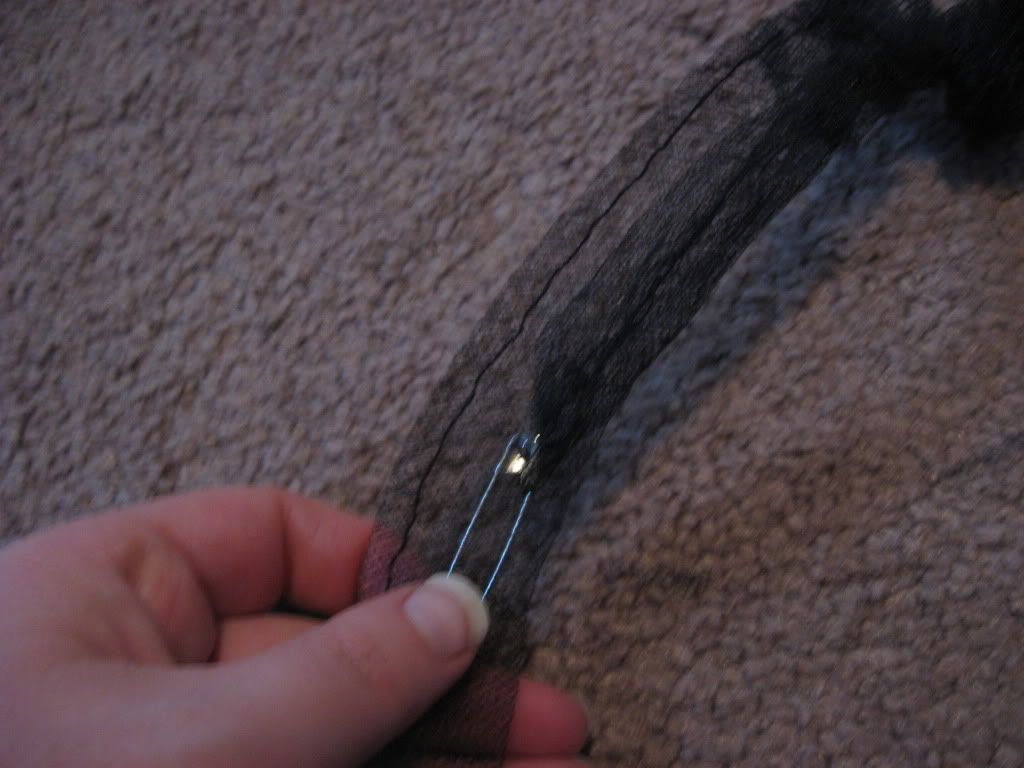
I started with sewing  the material in a long tube making sure there was enough room to fit a Marble through it.
I then flipped the tube the right way. Which was the hardest part! It took me 3 tries before I figured out a good way to do it! That tulle doesn't like to be put up against itself!


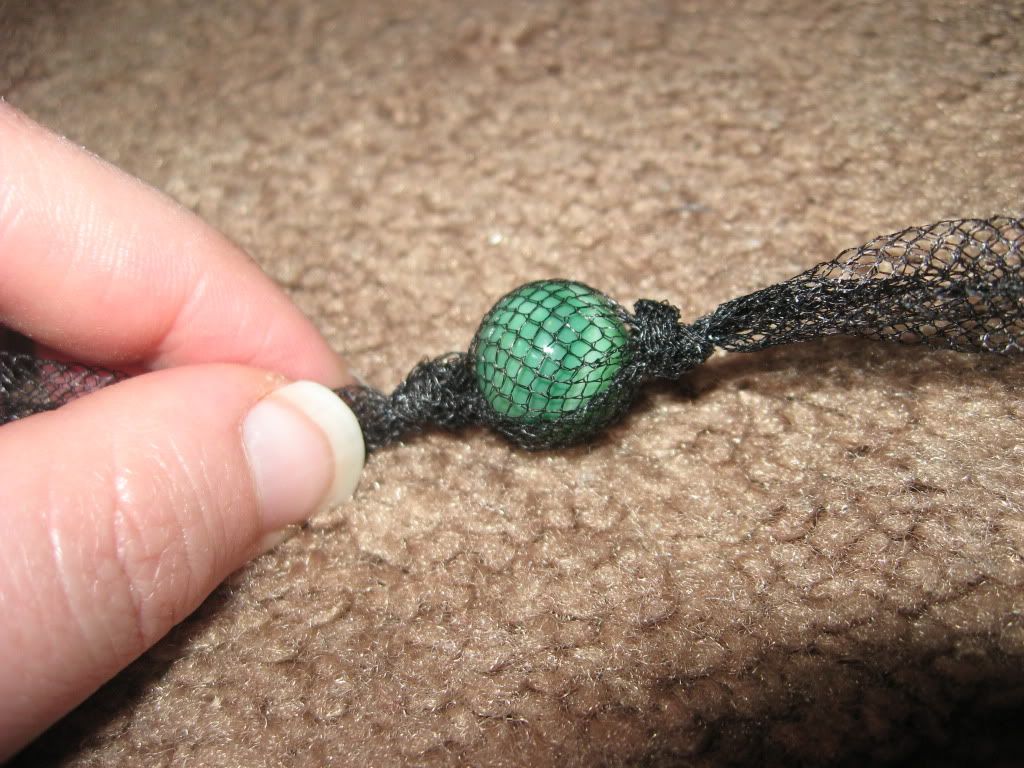
After getting that right ways I put my first marble in to find the center and tried 2 knot on both sides.


I just kept working side to side knotting as I went. I noticed after doing a few that I wasn't tying them as tight as I wanted to. So I had to take knots out and almost start all the way over. See all the room in with the white on on the right? I'm a little OCD so I had to fix it!


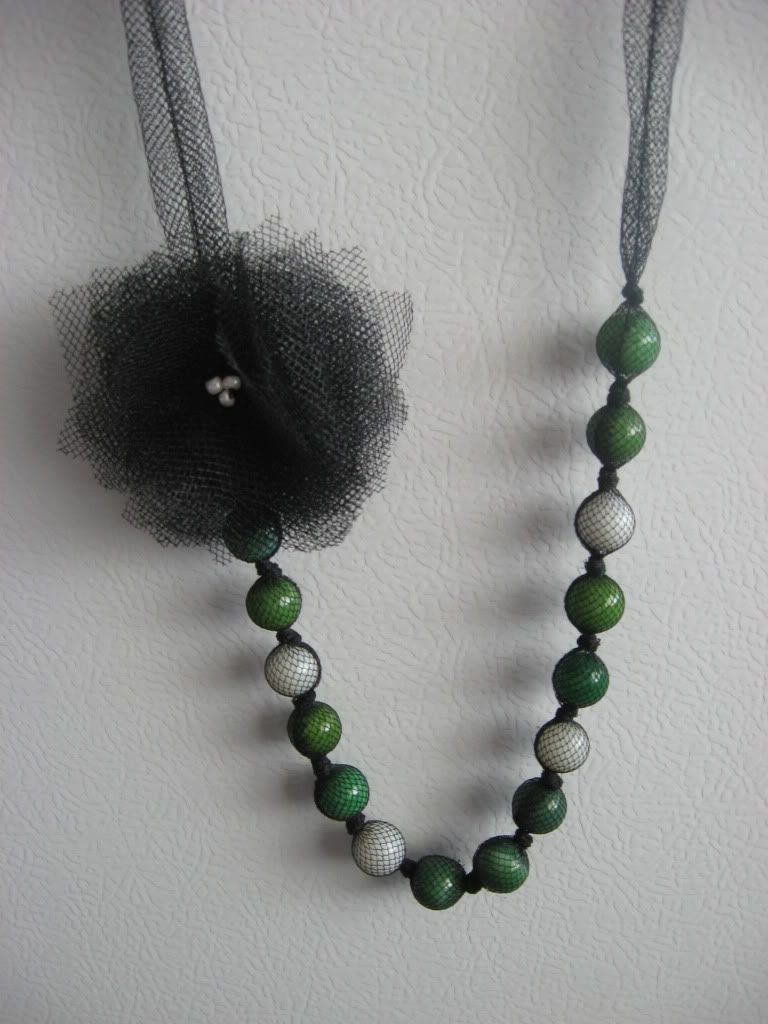
Finally, I made my flower. I just cut squares out about the size I wanted and stacked them on top of each other, then sewed up the center to hold them together, then added the beads, and sewed it to the necklace in the location I liked. Here is the finished product!

I

Friday, February 17, 2012

Plate Tier Set

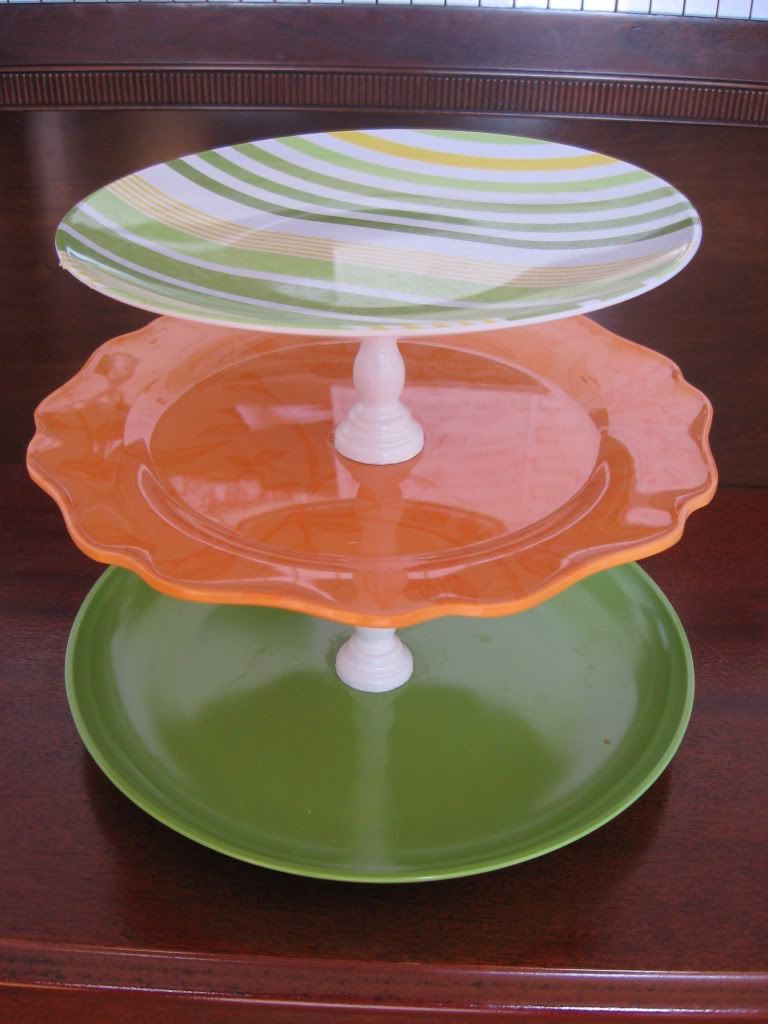
I have had these plate around my home for almost a year! I bought them at Walmart and thought they complemented each other. I used the E600 glue method, I didn't want to try and drill them and mess up the WHOLE project. And it's not like I could go and find more plates to replace the old ones... I also used wooden candlesticks for the center. I primed, painted and sprayed it with a sealant. In the end I think I did an ok job. I sadly got the middle plate WAY off. For the picture below I angle it just right so it wasn't completely obvious...

I love the colors. Orange, green, and yellow! Makes me wish for Spring and not have to wear a coat anymore!

Have you forgotten about the giveaway? Shame on you! Go here to enter!

Thursday, February 16, 2012

Foam board frame

This is one cheap way to hang up your poster size photos and posters!
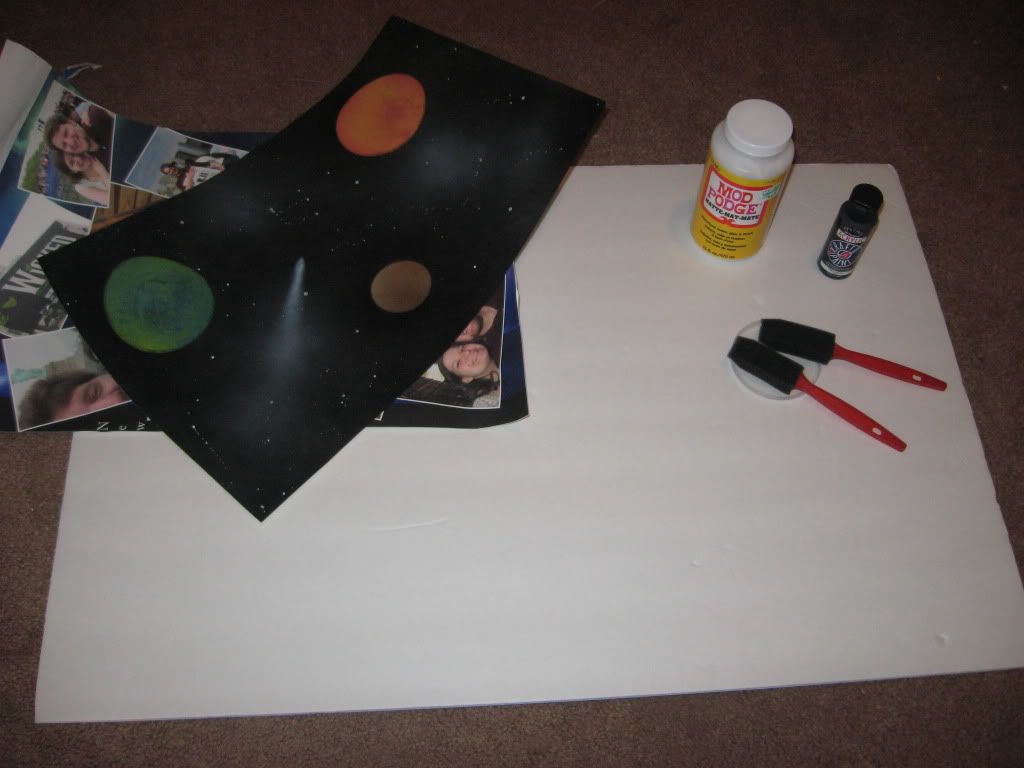
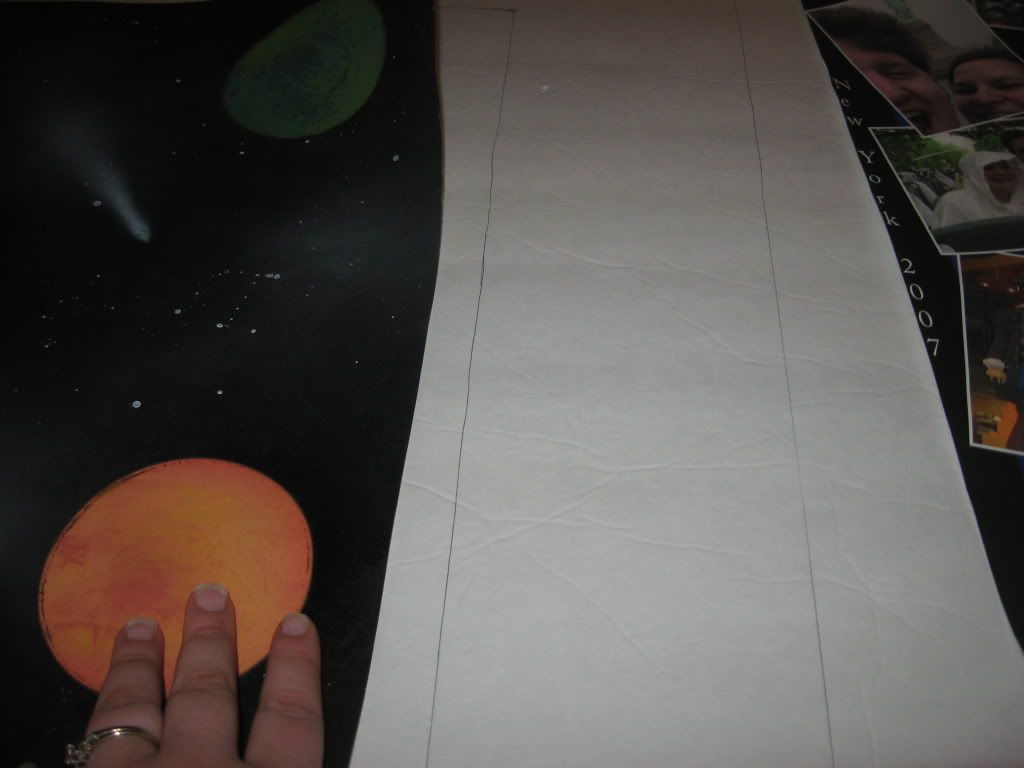
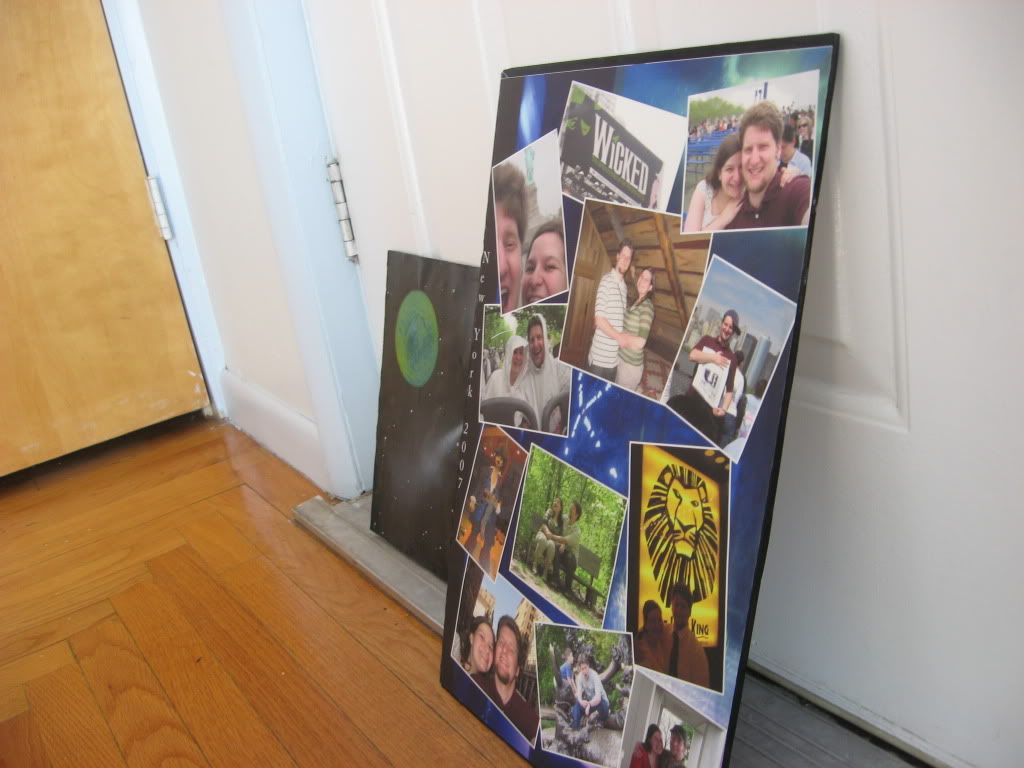
-You need your photos or posters. (Mine is an awesome art project, plants and shooting stars, made with spray paint we did at a reunion years ago, and also a poster we made through the company paper coterie. I love all their stuff, and sometimes you can find deals that give you free 30 or 40 dollar, just pay shipping! So worth it! It is made on a canvas like material. it has a sticky back so you can put it on anything.)
-Foam board- I found mine at the dollar store, but I had to search for one that wasn't damaged! They also have them at any craft store, they just cost more than a buck.
- Modge Pod
- Foam brush
- Paint (if wanted)
- and Exacto knife. (not pictured, it missed the photo shoot.)

Start off by tracing your pictures. I was able to fit both of mine on one piece!


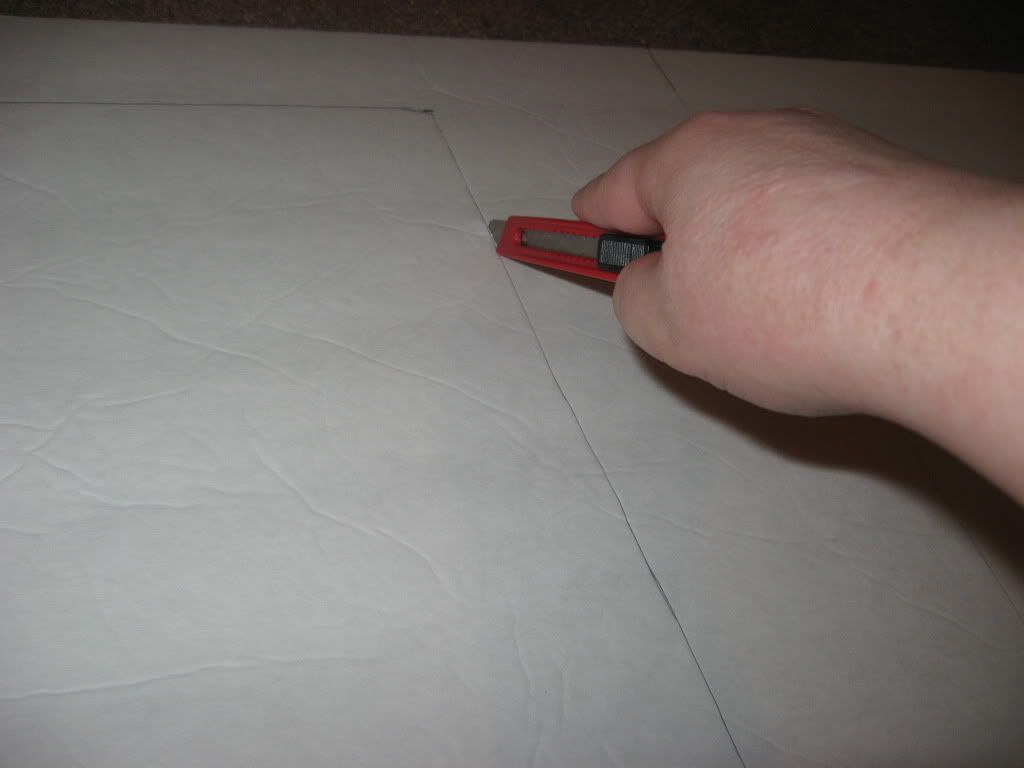
Cut it out carefully.....

Next paint any edges if you don't want the white edge.

Next apply your photo, and carefully align it with the board,

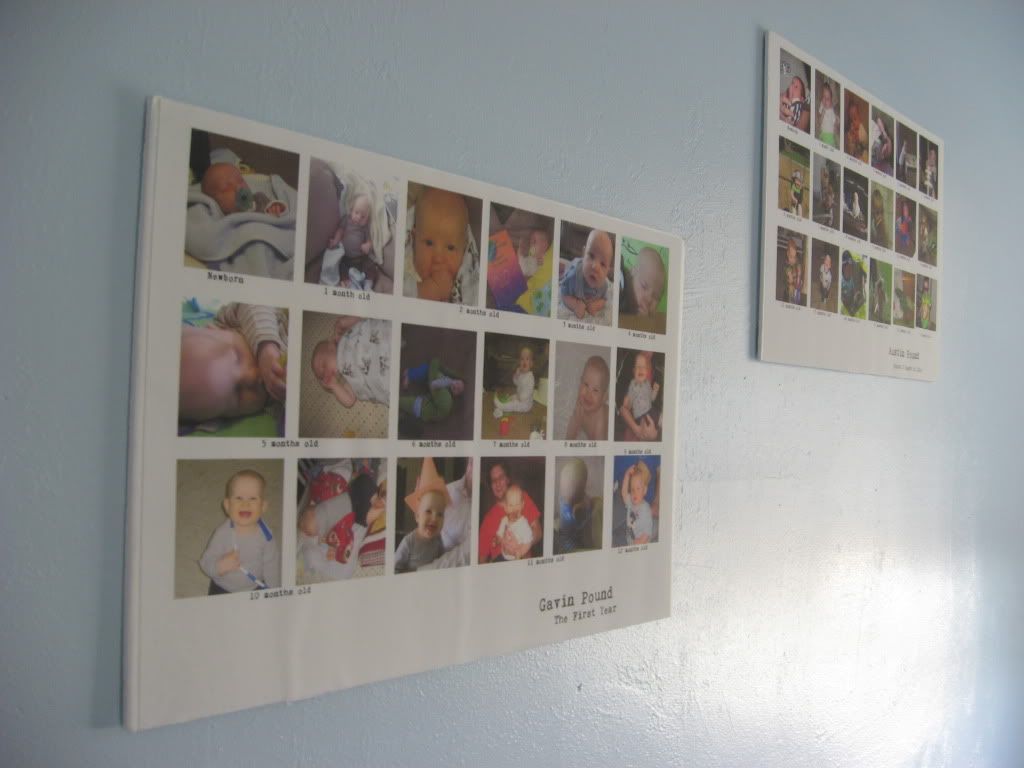
and done. I put mine on the wall with scotchs' poster wall adhesives. They are just little squares, I put one in each corner. Or put it in a real frame if ya want. I like how it looks this way and it's so much cheaper! Here are the first ones I did of the boys. A pic for every month their first year. :)
Wednesday, February 15, 2012

The Baby Shower


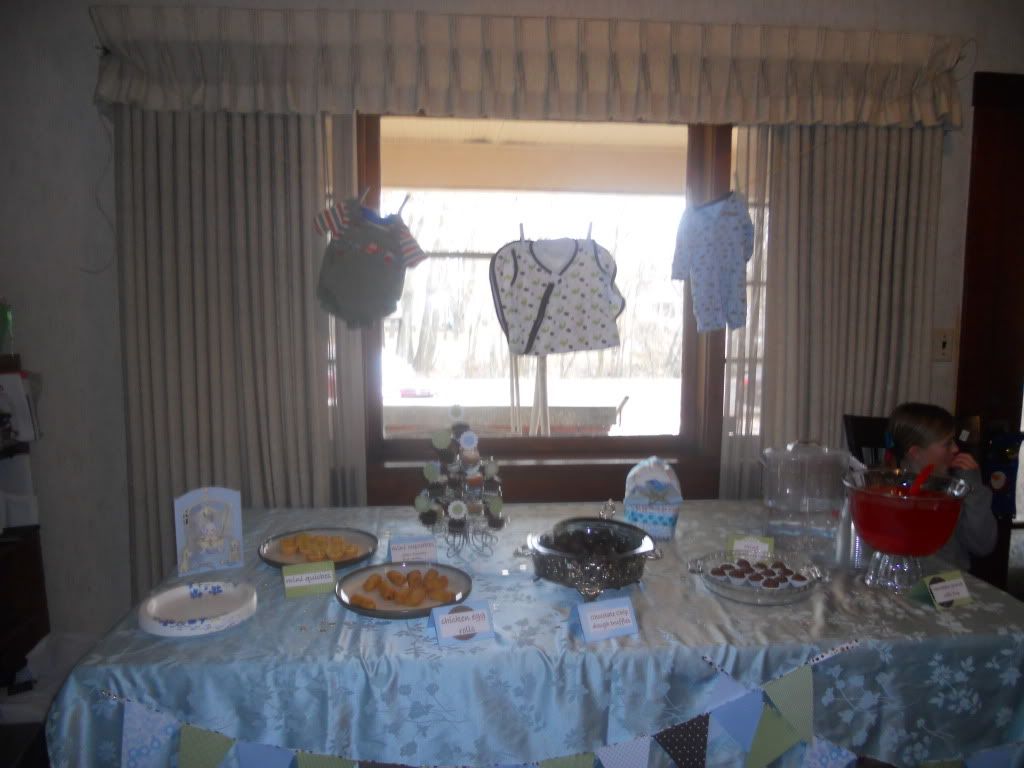
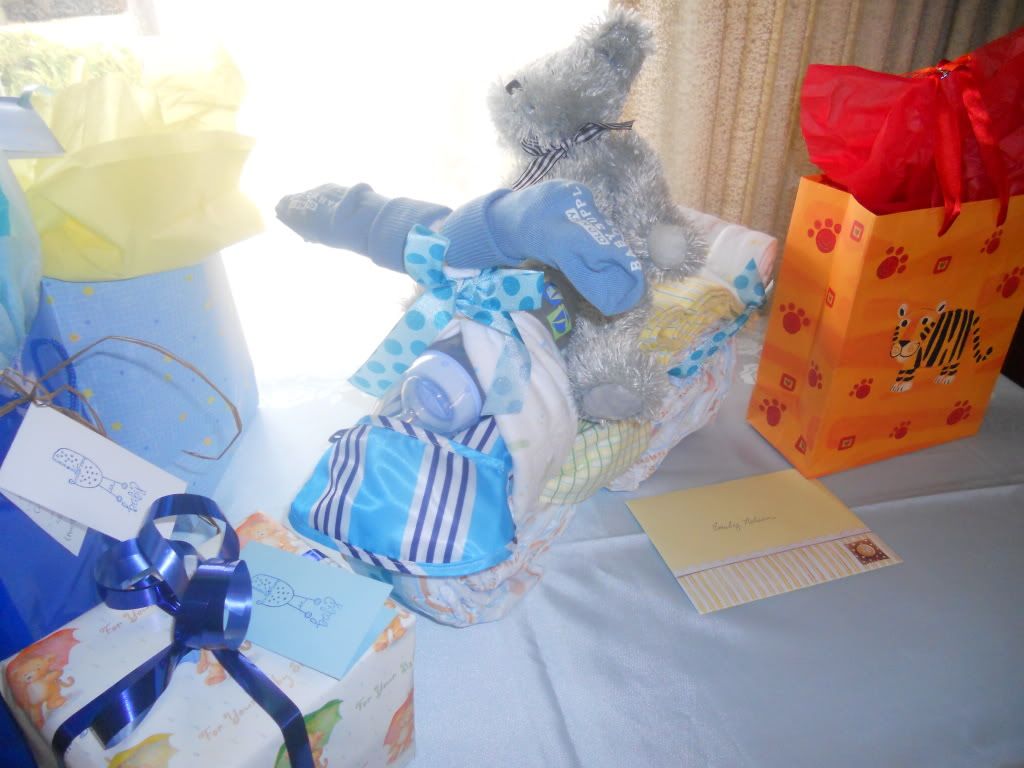
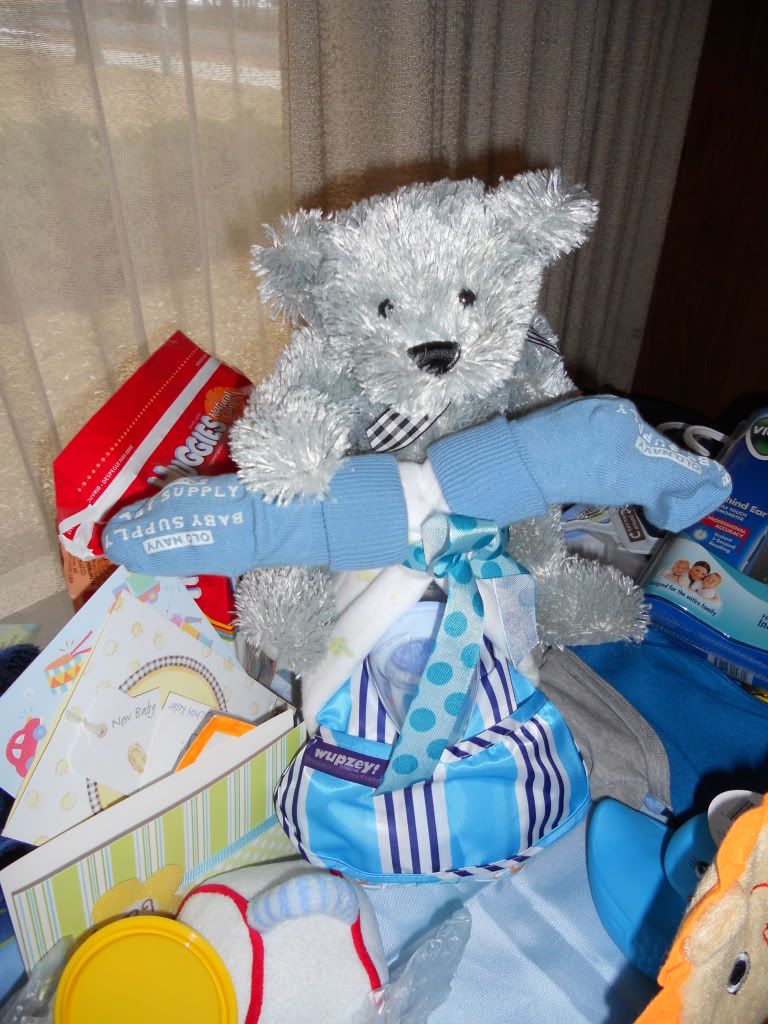
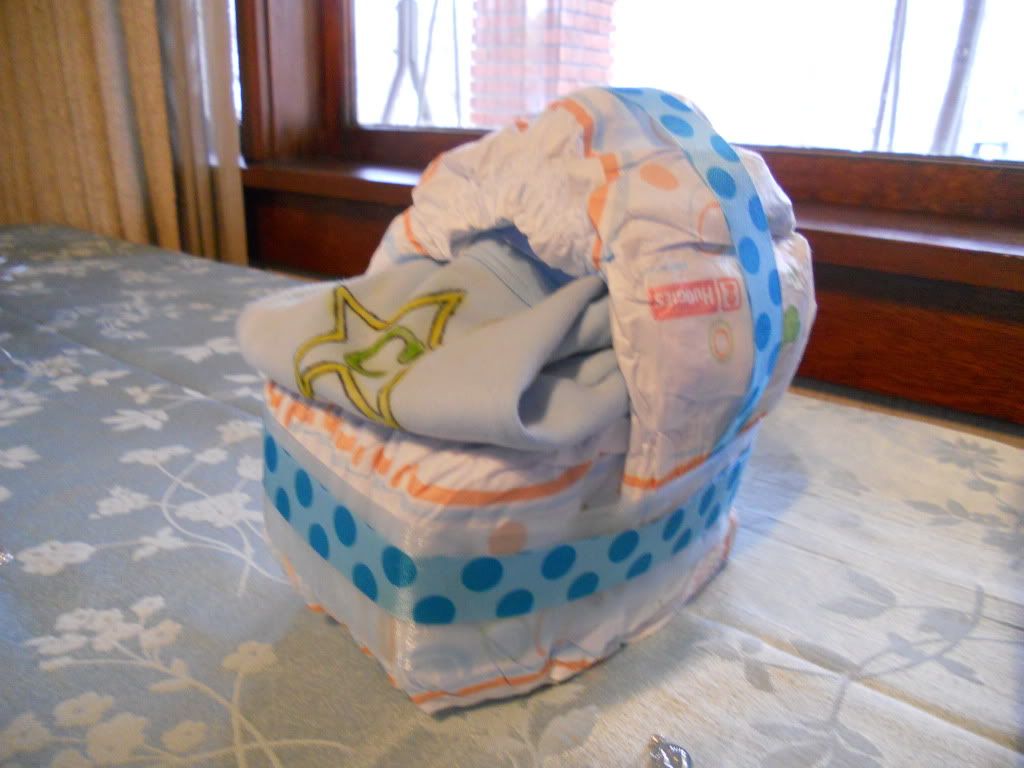
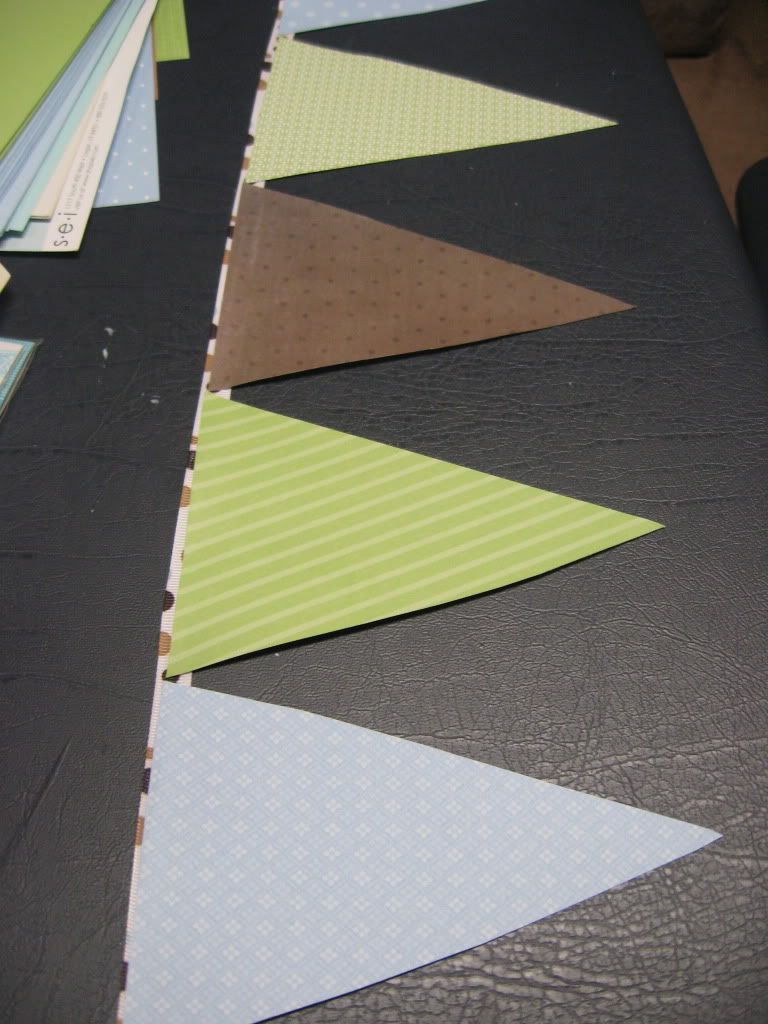
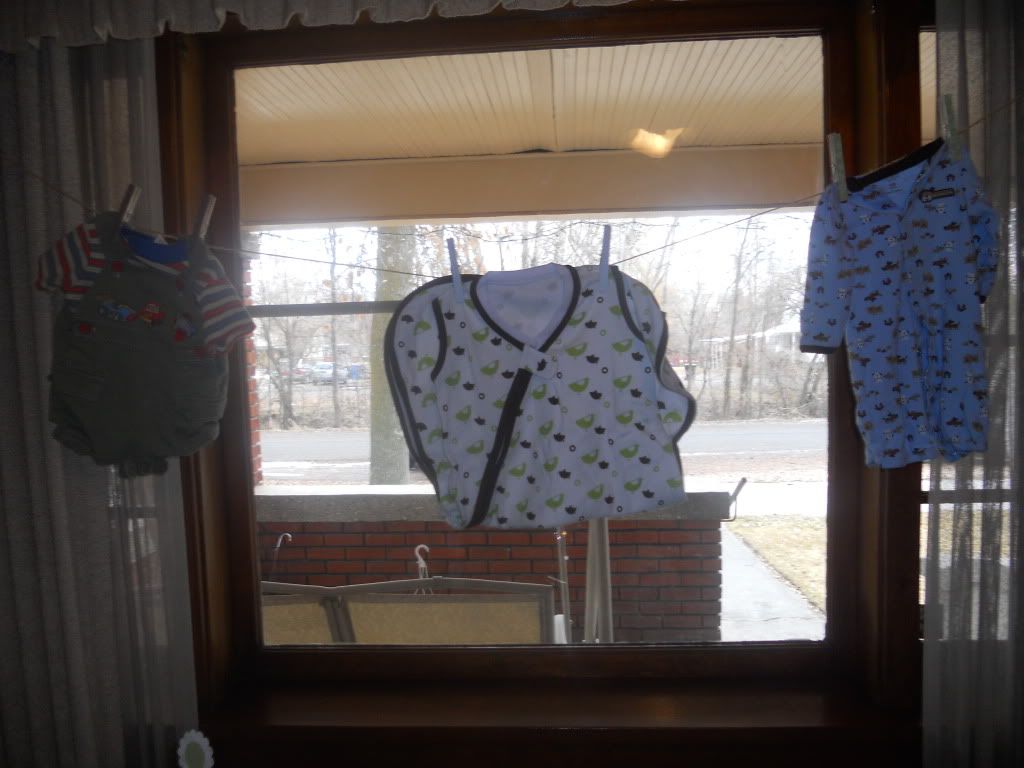
I was asked to help with a baby shower for my friend, Emily. She is have her second child. This time with it being a boy. We decided it would be nice to throw her a shower to get some of those much needed boy clothes and other things. I was put in charge solely on the decorations. Which is smart cuz I really don't enjoy cooking. I'll do it if it's needed.  I made some typical decorations with the triangle bunting, and balloons hanging from the ceiling. But what I was really excited to do was the Diaper bike and Diaper bassinet. They were so easy to make! I couldn't believe it. Little work for a big result I say! I used 42 diapers all together. About 15 diapers for each wheel then the rest to make the bassinet. I used the information from THIS SITE to make the diaper bike and watched THIS VIDEO to see how it was done. Then I watched some of THIS VIDEO to make the bassinet. (the cat is annoying) Here's what mine looked like:
The bear is kind of falling off his bike! oops!
ahh better!

the bassinet


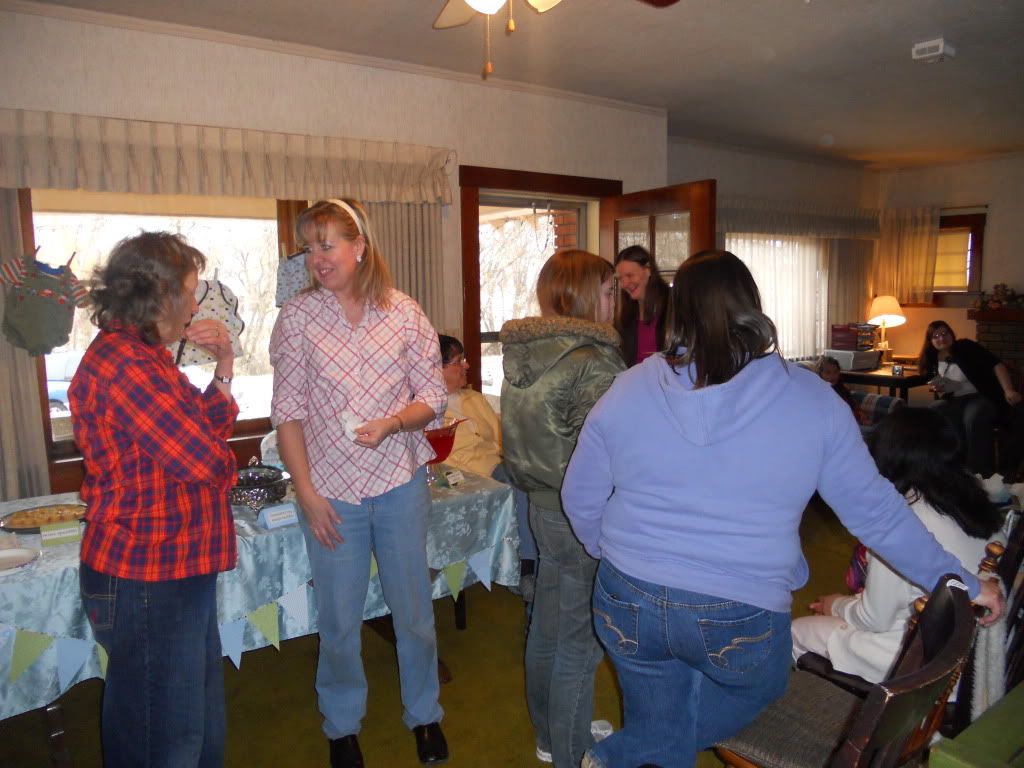
Some of the other picture taken:

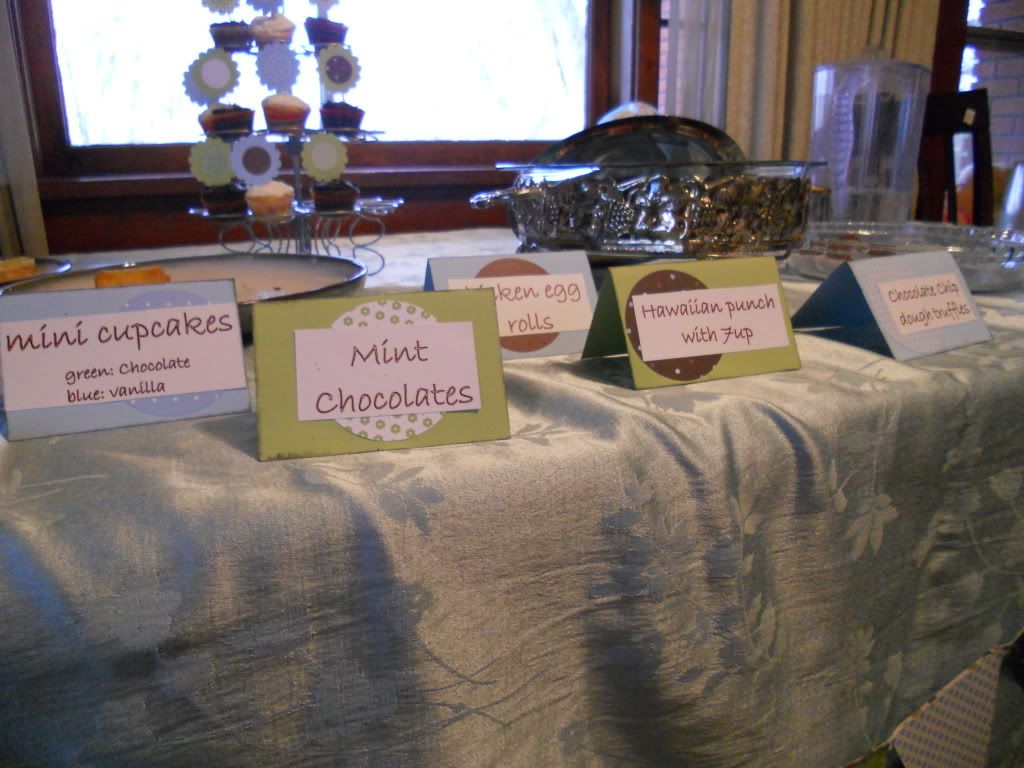
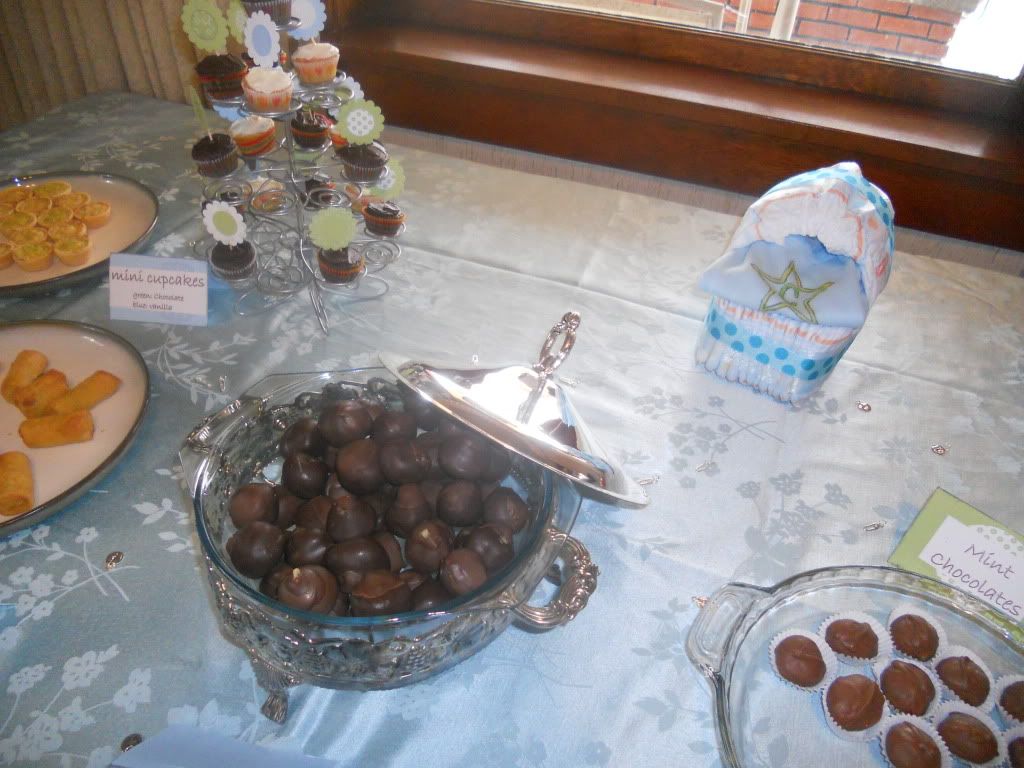
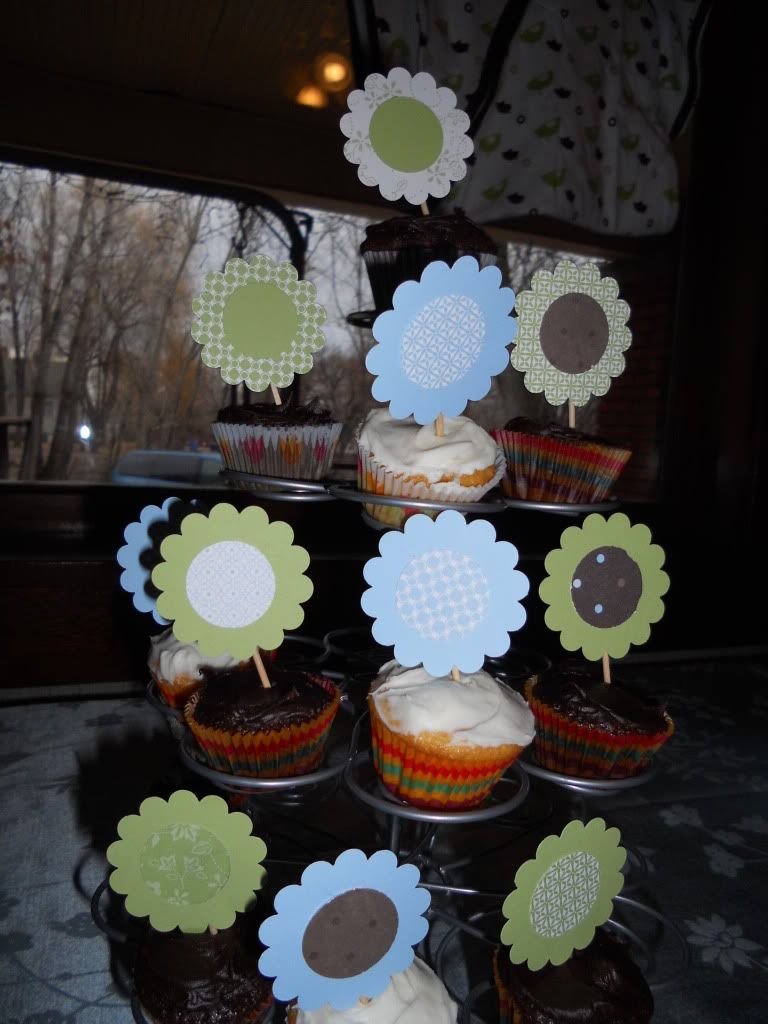
Our yummy foods! The mini quiches and egg rolls from sam's club. Mini cupcakes made by Lacey, mint truffles made by the ward's best chocolate maker, Connie, and Chocolate chip dough truffles made by Jaunita recipe found here.
Our cute pregnant Emily and Juanita


We had a great turn out! It was so fun!